Friday, July 31, 2015

Banana Ogura Cake


There is an ogura cake frenzy going on in one of the home cooking forums on FB. Irresistible cake photos have finally lured me to the kitchen to bake one today.


 Marshmallow looking egg white meringue


Submitting to the ogura cake frenzy, I put together the following, adapting from Jeannie Tay's blog at https://jeannietay.wordpress.com/2015/05/04/banana-ogura-cake/. I made some minor adaptations and the recipe below are my final adaptations.

60g vegetable oil
100 g mashed bananas (about one Del Monte banana)
Pinch of salt
80g top flour (Any plain flour will do)

5 egg whites
70g sugar

Whisk egg yolks with egg and oil till well mixed
Add in mashed bananas (I used 10g more of banana and reduced 10g of sugar from original recipe)
Fold in sifted flour with salt and mix batter well
Using electric mixer, whisk egg whites and add sugar. Whisk till stiff
Mix 1/3 of egg white meringue into yolk mixture using whisk, followed by another third and remaining meringue using spatula
Pour batter into lined tin with water bath below and bake at 170 deg C for 70 min


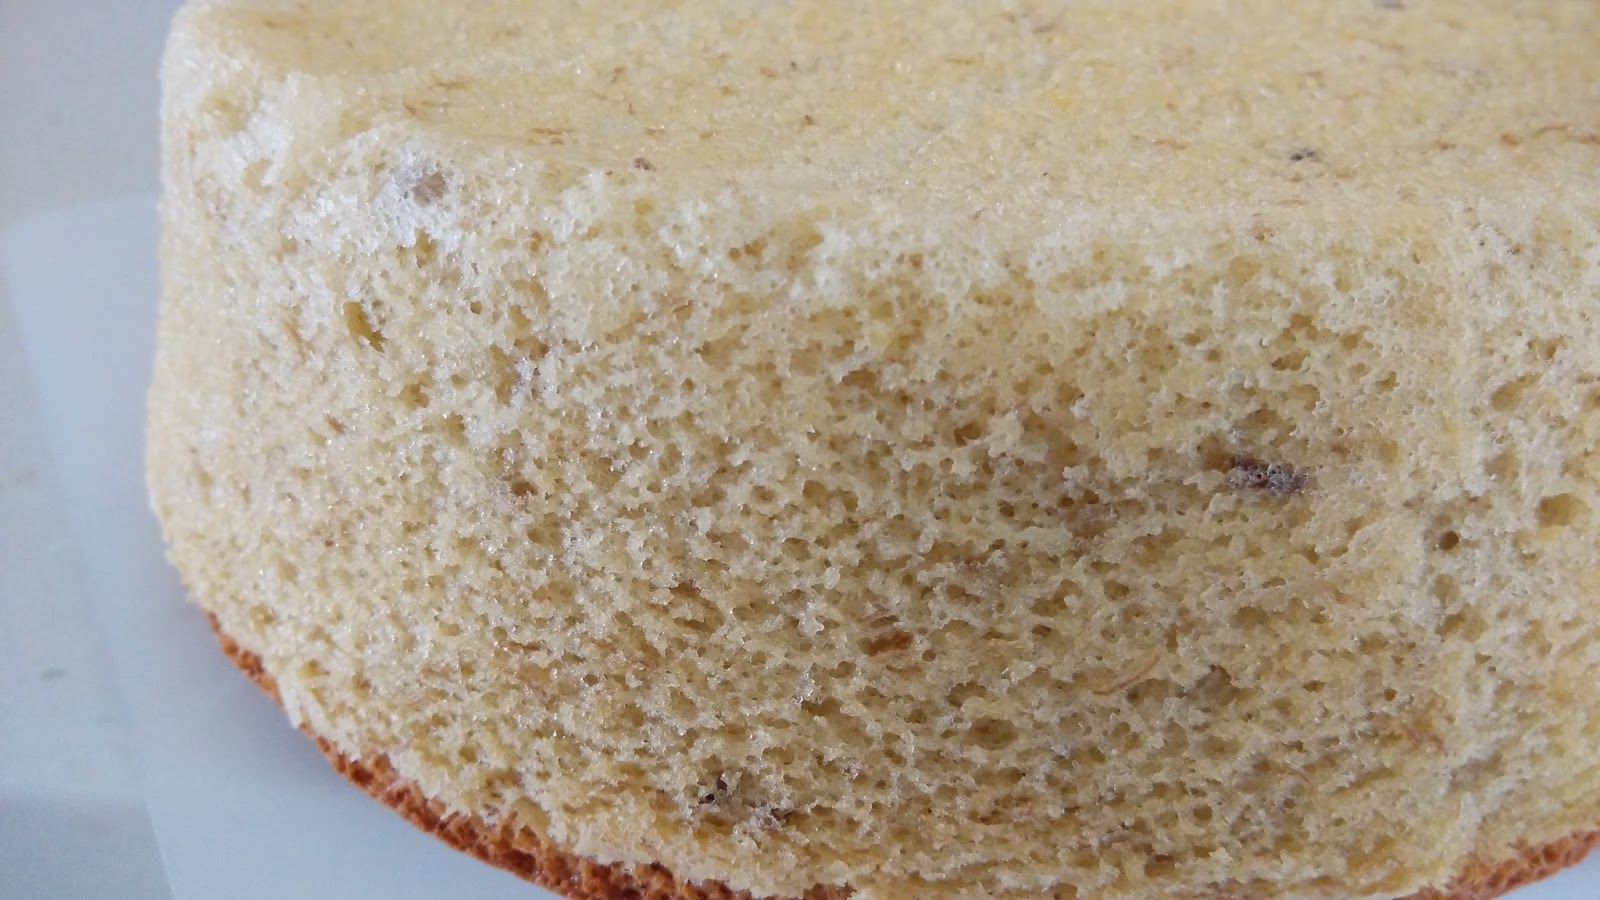
What I enjoy about baking this cake is it doesn't involve butter. Butter is often a hassle to handle as some recipes call for softened butter, which means thawing the frozen butter for a couple of hours prior to preparation. Butter is also a greasy affair which I want to avoid in my kitchen. It just means too any utensils and crockery to wash. Besides, using vegetable oil seems a little healthier.

Enjoy.


Wednesday, July 22, 2015

Boiled wantons

Using my excess minced pork from the steamed tofu recipe, I wrapped the minced pork with wanton skins that can be easily purchased at supermarkets.

Simply make chicken stock by boiling chicken meat/bones or use ready made stock which can be found in all supermarkets. When it is boiling, drop the wantons in to cook for about 10 min.

Drain them out and place on the bowl with some soup drizzled on it. I prefer less soup with it but you need to have some soup to keep it moist, otherwise they will stick.

It is a very easy dish to prepare but you need to dedicate some time for wrapping. But it is definitely tasty and you cant stop at two.

Enjoy!


Steamed tofu with minced pork

Steamed tofu with minced pork

I was running out of dishes to prepare for dinner and was getting tired of cooking the same old dishes.

Fortunately with the help of social media, I managed to jump start my interest and got all excited again. I came across this site from FB called foodforlifetv.sg. It is an initiative by NTUC Fairprice which I find is very useful for amateurs like me. It consists of a lot of nice recipes ranging from local dishes to Western cuisines in all very achievable steps done mainly via videos. The video captures the essence of cooking in very easy steps.

I started off with a very simple dish of steamed tofu with minced pork.

All you need are:

A tube of egg tofu
Some minced pork
(I mixed the pork with some minced prawns, water chestnuts and chopped spring onions)
Chopped spring onions - 2 sets


 Chopped water chestnut

Minced pork

Tofu ready for meat topping


Seasoning
Soy sauce
Sesame oil
Some pepper

Oyster sauce mixed with some water and corn flour
  • Marinate pork with the seasonings and set aside for 10min
  • Cut the tube tofu into even sizes and lay on a flat plate
  • Cut out a small hole on top of each tofu
  • Put a tsp of marinated pork on top of each tofu
  • Drizzle the oyster sauce mixed with water on the dish
  • Steam for 10-15min till meat is cooked
  • Remove from steamer and drizzle some sesame oil and sprinkle some spring onions (add some fried shallots if desired)
  • Serve with rice

Thursday, April 9, 2015

Almond cookies

It was Chinese New Year. After seeing all the delicious posts that many had posted on SHC, I was very tempted to start baking and heat up the oven of mine.

I tried my hand at Almond Cookies. It is one of my favourite CNY cookies as I love the almond fragrance. It was a lovely treat for me and friends!  

This is a very simple and straightforward recipe and about 25-30 cookies can be done in one night with no fuss. No kidding!

I adapted the recipe from Dequeen Kitchen.


30g almond meal, 45g plain flour, 30g fine sugar, pinch of salt, 1/4 tsp baking powder, 30ml canola oil, 1 egg (I doubled this recipe, but use only 3/4 of the sugar required)

Mix all dry ingredients in a bowl with the oil being the last (I used a metal spoon to mix)

Mix well

Scoop 1/2 tbsp of mixture and roll it into a ball (texture should be somewhat easy to knead and roll without breaking up into crumbs too much)

Place balls on paper lined tray and press down the top gently

Do a light egg wash

Bake at preheated oven of 180deg C for 17 minutes (17 is my ideal time)

Cool cookies on a cooling rack before packing


Tuesday, September 23, 2014

Creamy durian puff


Had a gathering for the weekend so I decided to make some durian puffs. It's been something I've wanted to make for a long time but never got around it.

Picked up some durians at the stall outside NTUC Supermarket. Quality is just so so but the guy gave some discounts so why not. I bought 2 packs for about $13. If it is to be for self consumption, I would have gotten Mao Shan Wang and pay good money for it. Cos I believe if you want to eat good durians, we must pay good money for the sinful calorie consumption. Otherwise we are just wasting calories.

For the durian fillings, I extracted the flesh from the seed, and mix it with some whipped cream and castor sugar. I might want to try using yoghurt next round for health reasons. Or better still, maybe we dont even need anything other than the flesh!


Not sure how many durians these 2 packs translate to, but its about 280g for about 15-18 puffs.

Anyway, puff pastry recipe is very easy.

For the choux bun / puff
65g plain flour (sifted)
2 eggs
50g butter
150ml water


Method for Bun

Preheat the oven to 220 deg C. Beat the eggs in a small bowl. Cut the butter into cubes and put it into a saucepan of the water over low heat. As soon as mixture boils, take it off the heat. Quickly put the flour into the saucepan and mix well till it forms a dough ball. Add a litle egg and stir well until all the eggs are in. The mixture should be light.


Spoon the mixture onto the lined trays and bake them for 10min. After 10min, bake them for another 25min at 190 deg C till puffy and golden brown. Remove the buns and poke them to remove extra steam. When the buns are completely cooled, cut a slit in the buns and insert the filling.

Thats it!

Tuesday, July 1, 2014

Simple easy asparagus dish!

After some grocery shopping I realised there are different types of asparagus! I am a noob in cooking so it took me a while to realise this.

I would have preferred the thick American type of asparagus but anyway here is a simple recipe of the thin asparagus I bought.

I got together some fresh prawns (deveined, washed and chilled in ice water to maintain crunchiness), sliced capsicum and diagonally sliced asparagus.

Stir fry some garlic in heated oil, before frying the prawns. Once they turn pink, remove them. Stir fry the capsicum and asparagus for a while. Then add back the prawns, with some soya sauce and sesame oil. You may add any stir fry sauce/dressing if required.

Dish is ready in a jiffy!

Saturday, May 10, 2014

Hainanese Pork Chops

This is a very common dish in Singapore, usually found at the economical rice stalls at hawker centres/coffeeshops. Apart from the distinctive pork chops, lots of curry gravy is poured over piping hot rice.

I like tomato sauce pork chops and they will remain one of my favourites for a long time.

Here's my version of it, which is very easy to accomplish. Enjoy!


Wednesday, November 6, 2013

Lemon Chicken Wings

I invited my in-laws, parents and uncle over for dinner last Sunday. As most of them are elderly, it was apt to do a healthy, home cooked dinner that's not too oily and salty. I wrecked my brain abit on what the most ideal dish would be to do on a Sunday. I had in mind Lemon Chicken Wings, but wasnt 100% confident in doing. Did abit of research and finally decided on it.

Here's what I did, along with some steps taken from some sites as reference. The ingredients needed are of course chicken wings, rosemary, sea salt, olive oil, chopped garlic, lemons made into juice and some zest, plum sauce (can get from Asian grocers but totally optional) and about 1tsp butter.

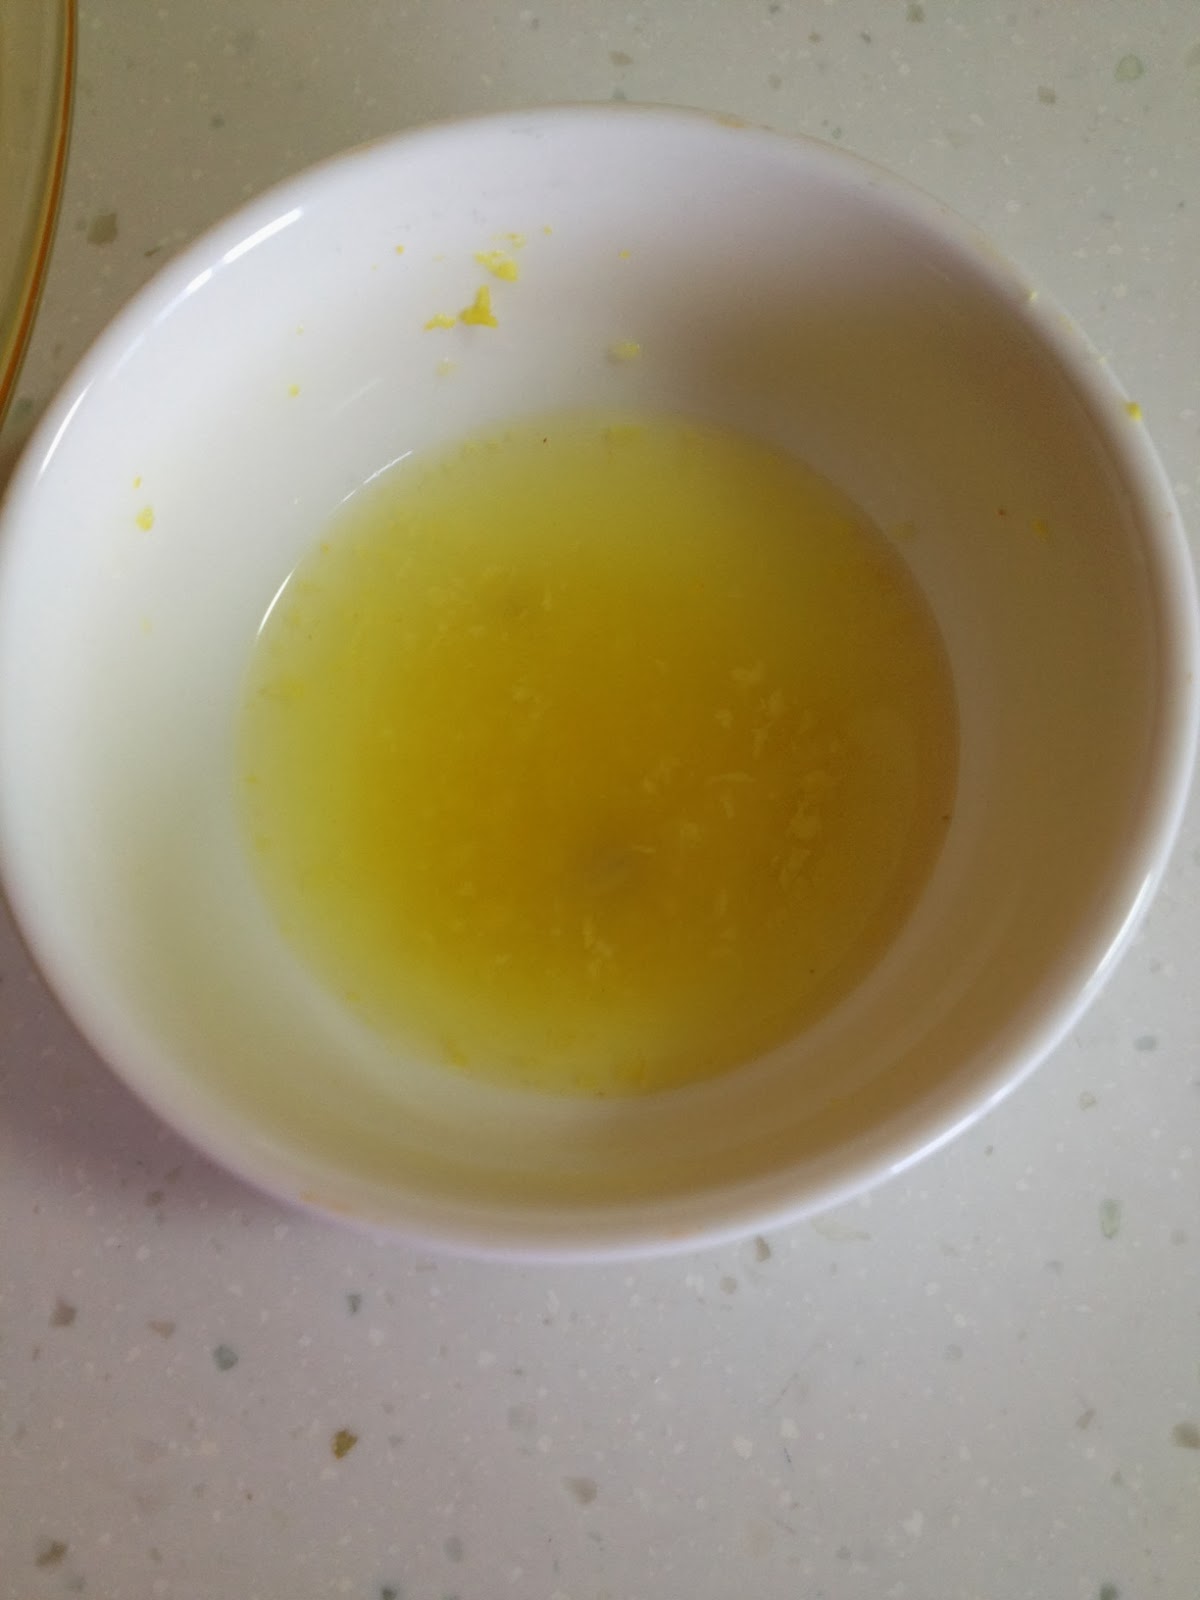
I marinated the chicken wings with rosemary, olive oil and sea salt overnight. The next day when I was ready to cook, I heated some olive oil and added chopped garlic into it to add some flavour. Remove from the stove, and add the butter (to give it a stronger flavour), lemon juice and zest, 1tsp of plum sauce and 1tsp of sugar into the mixture and stir well.

I pan fry the chicken wings till almost cooked or abit brown.

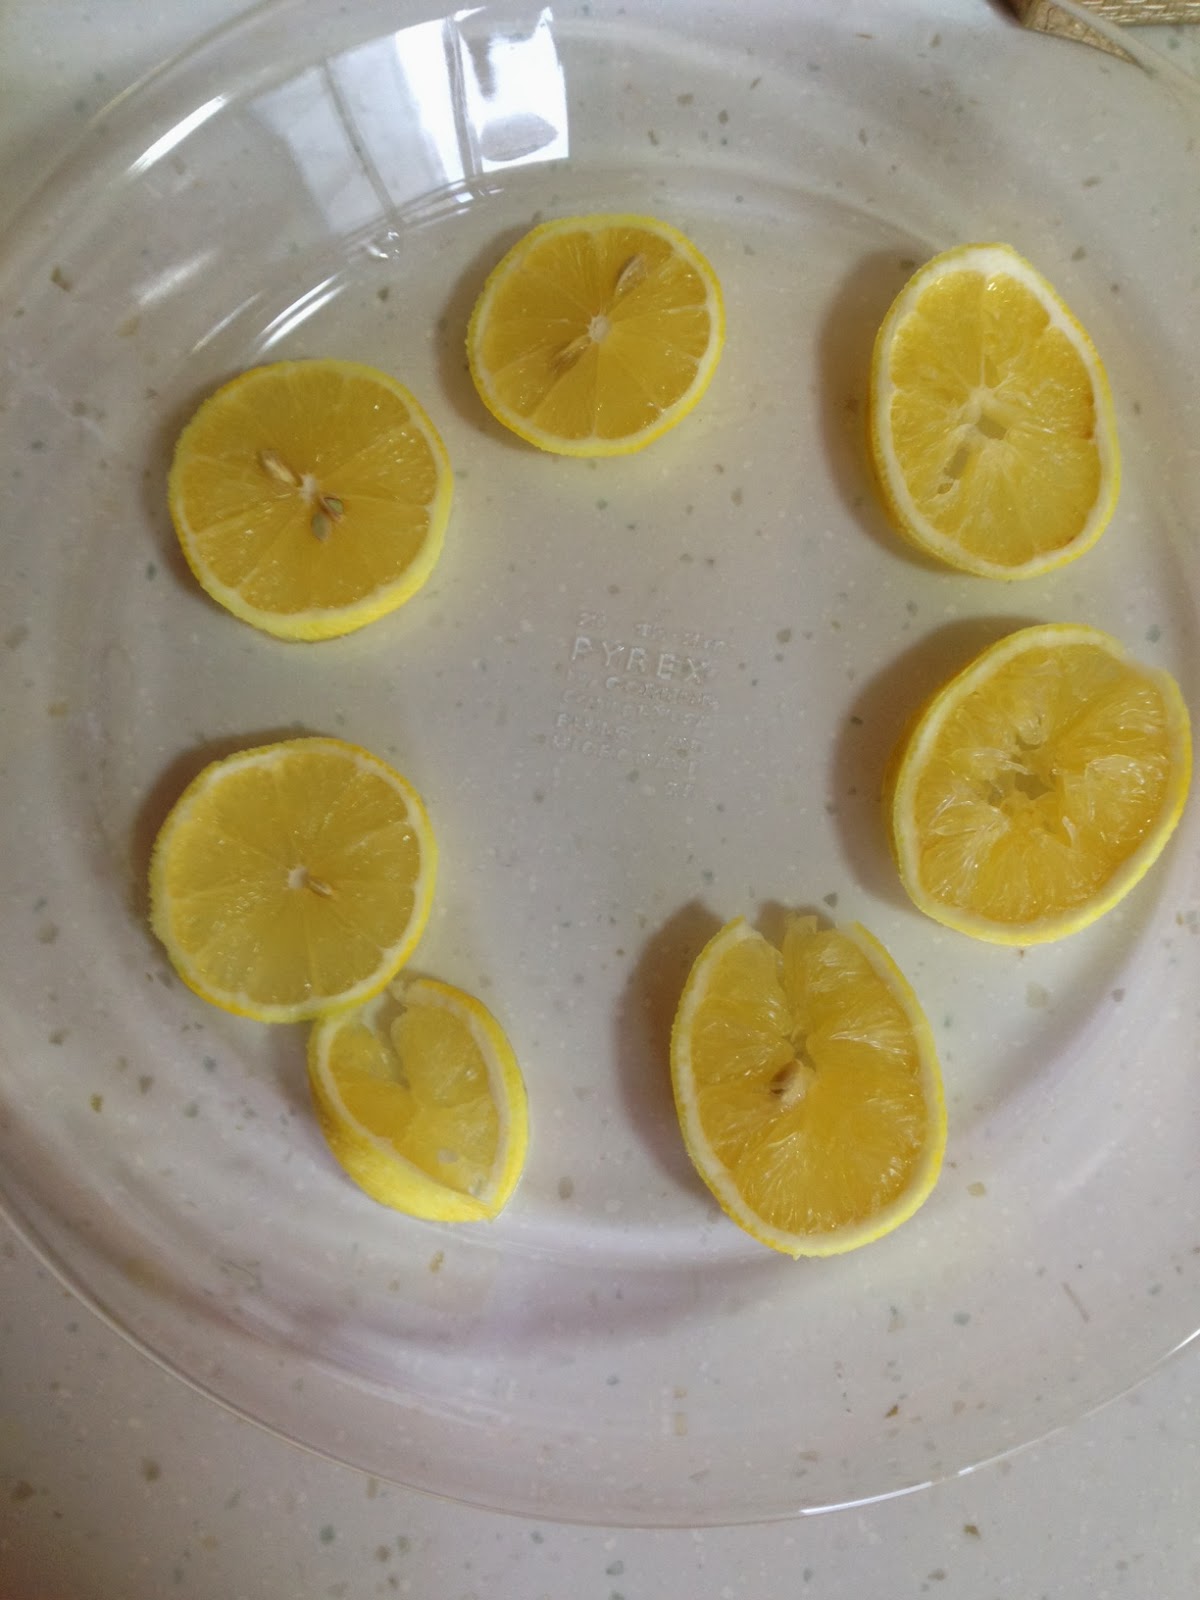
Meanwhile, slice some lemons and place them on a casserole. Place the pan fried chicken wings on it and pour the sauce over. Bake it for 20min at 180 deg.

That's it!
Lemon juice with rinds

 
Olive oil with chopped garlic
 

Sliced lemons
 

Lemon Chicken Wings


Thursday, January 3, 2013

Blueberry Yoghurt Cake

Tea cakes are one of my weaknesses. I dont really fancy cakes with lots of cream or mousse. A plain simple cake is what I like for breakfast or afternoon tea.


Bursting with fresh blueberries!

I came across this receipe of Blueberry Yoghurt Cake from taste.com.au website. It looked very easy without much fuss. I decided to give it a shot one weekend, adapting some parts!


125g butter
1 cup caster sugar
3 eggs
1 cup plain flour
1 cup self-raising flour
3/4 cup vanilla yoghurt
1 cup frozen blueberries (I use 1 packet from the supermarket)

1. Preheat oven to 180°C. Grease a 20cm (base) round springform cake pan. Line base and side with baking paper

2. Using an electric mixer, beat butter and sugar until light and fluffy.

3. Add eggs, 1 at a time, beating to combine. Sift half the flour over mixture. Stir to combine.

4. Add the yoghurt. Stir to combine. Repeat with remaining flour and yoghurt.

5. Spread mixture into prepared pan. Sprinkle with blueberries. Press blueberries slightly into mixture. Bake for 50 minutes or until a skewer inserted in the centre comes out clean (cover cake loosely with foil if over-browning during baking). Stand in pan for 10min then transfer to wire rack to cool.

Friday, December 21, 2012

Sweet and Sour Pork

Sweet and sour pork is one of my favourite dish because of its sweet yet sour tangy taste. It has been my favourite since young and it is one of most Singaporean's favourite. It is widely available at coffee shops, and Chinese restaurants as well.


It is a relatively very easy dish to do. It just takes more time to prepare and that one must bear with the oily kitchen and stove. (which I dislike!) I must say I am surprised that I can master this on my first attempt. All thanks to my dear friend who shared with me her tried and tested recipe which made my attempt much easier.

It is a slightly varied recipe from the one she shared but most of the items and steps remain the same. These are based on my own guestimation on the quantity. You may adjust accordingly where necessary.


Enjoy.

All you need:

About 2-300g lean meat / tenderloin cut into cubes - approx for 4 pax
1/4 each of green, yellow and red green pepper cut into cubes
(You may also add pineapple cubes, tomatos or lychees for the added zing!)
Oil for frying
Some chopped garlic and onions


Marinate
1/2 tsp corn flour
1/2 tsp of Hua Diao wine
1 tsp soy sauce

1. Marinate pork with the marinate seasoning and leave aside for 15min

Batter
1/3 cup water
60g all-purpose flour
30g corn starch
1/2 egg
1 teaspoon cooking oil
1 small pinch of salt

1. Mix batter together well and add pork cubes into batter

The key to good sweet and sour pork is the sauce! Here's the recipe which I like alot and have slightly modified because I lack certain ingredients. But the absence of those ingredients didn't affect the taste too much.


Sweet and Sour Sauce
1 1/2 tablespoons tomato ketchup
1 tbsp plum sauce
1 teaspoon Heinz Worcestershire Sauce
1 teaspoon oyster sauce
1 teaspoon corn starch
1 teaspoon sugar
2 tablespoons water
(Mix sauce well)

1. Deep fry the pork cubes coated in the batter
2. When golden brown, put it aside and drain on paper towels
3. Fry some chopped garlic and onion
4. After lightly browned, fry the cut bell peppers till fragrant - you should smell the aroma after a while
5. Transfer the pork cubes into the wok and fry for a while before adding in the sauce
6.  Stir fry for a while to ensure everything is well stirred and it's done!

Serve hot with steamed rice.

Monday, September 3, 2012

Minced Pork with Pumpkin

A friend of mine recommended this dish to me as it was hassle-free and suitable for people like me who can't find enough time for cooking.


I have never tried my mom's pumpkin dishes so I would never expect to try this dish myself. After wrecking my brain on what to cook for my family for the weekend and recommendation from my friend, I decided to just give this a shot. It's really easy without taking too much of my time. Most importantly, pumpkin contains loads of nutrition so you can't go wrong with this. It is loaded with beta carotene, which can help reduce the risk of certain types of cancers as well as protect against heart disease. This humble backyard vegetable is also very low in calories, high in dietary fibre, vitamins and minerals. What more can you ask for?

As this is a self-made self-tested and improvised recipe from my friend, I don't have the exact measurements but I hope the estimates provided below are good enough for 4 pax.


What you need:

A
1/2 tsp of chopped garlic
1 tsp of chopped onions
A little oil

B
Pumpkin cubes (approx 1-1.5 cup)
2 Chinese mushrooms (rinsed, soaked and thinly cut)
2 tbsp water

C
About 200 g minced pork (pre-marinated with some corn starch, soy sauce, pepper and sesame oil)

D
1 tbsp oyster sauce
3 tbsp water
2 tsp sesame oil
1/2 tsp soy sauce
Pepper

1. Heat oil in wok then throw in A
2. Fry till fragrant then place B in the wok
3. Stir fry for a few min then add about 2 tbsp of water
4. Cover wok and let it simmer for a few min to soften the pumpkin (but not too soft)
5. Incorporate C and stir

6. Add in D and stir fry for another 2-3 min
7. Cover wok and let it simmer for 3 min

Dish is ready to be served with pumpkin is slightly soft.


Tuesday, June 19, 2012

Roland crabs

Chilli crabs are touted to be every Singaporean's favourite, one of the Uniquely Singaporean dish. It is also believed to have started as early as 1950s! I'm not sure of this and I can't verify  that. But what I can be sure of is my trip to Roland wasn't a wasted one. In fact, it is a well worth trip!

I first patronised the restaurant during the CNY period with my family and grand mother-in-law who loves crab, and had cravings for crab. I went without a high expectation, and I was pleasantly surprised on the taste and quality of their chilli crabs. What I like about their crabs is the rich texture and taste of the gravy. Many chilli crabs that I've eaten are either too dry, too spicy, or too diluted/watery. The crabs at Roland gave me a whole new perspective on chili crabs. The gravy was very tasty and I couldn't get enough of the fried man tou (Chinese buns) dipped in the delicious and generous portion of the gravy. The gravy is thick and yummy.


Just some weeks back when one of my colleague was leaving the company, a few of us decided to buy her a farewell dinner at Roland. It was everyone's maiden trip to Roland except for myself. Of course the chilli crab order was a must. Good that everyone loved it. Apart from the other dishes of vegetables and crispy fried squid (which is also good by the way), we ordered another crab - Salted Egg Yolk with Yam. My impression of a salted egg yolk crab is it is sticky, thick and something that I will not clamour for more because of the flavourful and rich gravy. You will get tired after the first or second bite.

However to our surprise, the dish was prepared dry. It is a tad too oily, but the taste of the salted egg yolk isn't too overpowering and makes you want to have more! What's interesting is the yam sticks are deep fried to make it very crispy like a snack. It is thinly cut, so you don't get too tired of eating them. It also goes well with the flavoured crab that is not too rich in flavour. The taste of the whole dish is very well balanced. But be warned. It can get quite addictive!

For the kind of calories, fats and cholesterol that we had to put up for that night, I must say it is well worth it!


For folks who might be interested, here is the contact info:


Roland Restaurant Pte Ltd, Block 89, Marine Parade Central, # 06 - 750 Singapore 440089

Email: sales@RolandRestaurant.com.sg
Tel: 6440 8205


Operation Hours :
Weekdays - Monday to Saturday
Lunch : 11:30 am to 2:30 pm Last Order
Dinner : 6:00 pm to 10:30 pm Last Order


Sundays & Public Holidays :
Lunch : 11:00 am to 2:30 pm Last Order
Dinner : 6:00 pm to 10:30 pm Last Order

Sunday, May 27, 2012

Blueberry muffin for the souls

This recipe is dedicated to my friend whom I've lost touch for 17 years. We met by chance on one fine evening (good if you are reading this) and we were both overwhelmed by our emotions. She cried, I teared. We caught up with each other again. In anticipation of our meeting once again after 17 years, I decided to bake her some blueberry muffins, hoping she and her family would enjoy.


Here's what you need:

A
375g plain flour (sifted)
1 tbsp baking powder (sifted with flour)
125g soft brown sugar

B
165g melted butter
2 eggs lightly beaten
250ml fresh milk

185g fresh bluberries (about one small tray)

1. Preheat oven to 210deg C.
2. Mix A and make a well in the centre.
3. Pour in the combined B items.
4. Fold in mixture but do not overmix. Batter should be lumpy.
5. Place blueberries into mixture and mix.
6. Pour into approx 12 muffin cups. Batter should fill up to 3/4 of the cup.
7. Bake for 20min.

Cool on wire rack.

Enjoy!


Friday, December 2, 2011

Soya Sauce Chicken

When time doesn't permit or I'm short of ingredients for a simple meal, I will have myself a plate of dark soya sauce chicken with plain rice. It is a relatively simple dish to prepare, which I must say only takes 20min of my time. I enjoy home cooked food, so this is a dish that I will occassionally prepare.


All I need are:

A
Few slices of ginger
4-6 chicken wings
4 tbsp dark soya sauce
1 1/2 cup of water
a clove of garlic

B

1 tbsp sugar
1 tsp corn starch
dash of salt and pepper
2 tsp sesame oil
1 1/2 tsp Hua Tiao wine


Pour A into pot and boil over small fire
Stir occassionally
Pour in B and mix well
Stir thoroughly to ensure chicken is well cooked
Cook for about 20min for all seasoning to reach the meat and dish is ready to serve

Wednesday, November 2, 2011

Tomato Sauce Pork Chop

Pork chop is one of my favourite dish since young. Especially those with the tomato sauce pork chop. My version here doesn't have fried potato slices. However, you may wish to add in fried sliced potato slices or strips together with the tomato gravy.

Here are the few simple steps to follow.
Have aside the following:

Meat
2 slices of pork chop, deboned
salt and pepper
2 tsp of sesame oil
2 tsp of Hua Tiao wine
1 egg
6 pieces of cream crackers/plain biscuits - crushed into fine crumbs

Sauce
5 tbsp of tomato sauce, mixed with 3 tbsp of sweet chili sauce and 3 tbsp water
1 tsp corn starch
2 small onions, cut
1 slice of canned pineapple, keeping 2 tbsp of syrup

Some oil for frying

After adding seasoning to meat, dip the meat into egg
After dipping into egg, place meat onto biscuit crumbs and ensure all parts of meat is covered


Heat oil in wok and start frying meat when oil is hot
Once meat is cooked, remove and drain away oil.
Cut into strips.
Prepare for sauce.

SAUCE PREPARATION
Mix the sauce together including pineapple syrup (except pineapple pieces)
Fry onion till lightly browned
Pour in the sauce and cook over heat
Add in pineapple pieces
After stirring for a few min, remove and pour over the meat
Dish is ready to serve


Pineapple pieces/cubes


Frying both sides to make sure meat is thoroughly cooked.


My version of pork chop is good to be eaten on its own too!


Enjoy the dish.


You may wish to add in lychee, cucumber or potato if desired.


Monday, October 10, 2011

One of my favourite cake

What's brown, yellow with swirls in it? No prize for guessing. It's Marble Cake.

Marble cake is one of my favourite cake. I've done a marble cake post before but this is an improved version with chocolate coating and strawberry decor.

We had a gathering over the National Day holiday to celebrate 4 of our friends' birthday. The folks came over to our place for a potluck session, so I thought why buy a birthday cake when I can bake one? I may not bake the most fantastic cake in the world (or Singapore), but I can attempt to do one :) Marble cake came to my mind because it is relatively simple and I guess palatable to most people.

 
I like the swirls inside :)


Top it with a strawberry to make it more appetising. Chocolate + strawberry = pleasure!


Here's the recipe I got from Baking: A Commonsense Guide with slight modification.


1 tsp vanilla extract
185g unsalted butter, chopped
230g caster sugar (I had 210g)
3 eggs
280g self raising flour, sifted
185ml milk2 tbsp unsweetened cocoa powder mixed with 1.5 tbsp warm milk


1 Preheat oven to 200 deg C and lightly grease and line a round pan
2 Add vanilla extract to a bowl of butter and sugar, and use electric beaters to cream the mixture till light and fluffy.
3 Add the eggs one at a time and beat well after each addition
4 Fold the flour into the mixture alternatively with the milk until combined
5 Divide the mixture into 2/3 and 1/3 (original from book is 1/2) into separate bowls
6 Combine the cocoa mixture into the smaller 1/3 portion and combine well
7 Spoon the 2 portions alternatively using a spoon into the pan
8 Use a metal skewer and cut through the mixture to create a marble effect (do not overdo it)
9 Bake for 50-60min and leave in the tin for 5 min before removing


To make the chocolate coating, double boil 125g of dark chocolate with 20g of butter
Stir well then cream the chocolate coating onto the cake when cake has cooled
Refrigerate it and it will be ready to serve after the coating has set in

Thursday, September 1, 2011

Ngoh Hiang

This is one of my favourite dish but it's alot of hard work. You should dedicate your time to making this dish as there are several steps to follow. This version is from my mom who puts in alot of effort and I'm learning the ropes because it tastes so good that I have to try. I always tell myself there is no short cut to anything. I believe that if you want to truly enjoy good food, you have to be patient, and work towards perfecting it :D


Sorry folks, it's a sought after item in the house that I didn't manage to take close up and cross sectional shots :D

Ngoh Hiang is one of the Hokkein dish that is made up of mainly minced pork and water chestnut then wrapped in beancurd skin. Frying the skin gives the salty crispy texture.

Here is a guestimation of what I did for my family lunch for 6 today.

Some minced pork - roughly about 400g
Beancurd sheet - need to be wiped thoroughly as it contains alot of sodium
About 3-5 prawns - deshelled and deveined - chopped

3 Water chestnuts - washed, peeled and chopped
1/2 egg - beaten
Seasoning - sesame oil, pepper, salt, 5 spice powder
Oil for frying


1. Mix minced pork with chopped water chestnut and prawn

2. Add half an egg mixture to the meat (so the content becomes smooth and not crumbly). Mix.

3. Add seasoning and mix well

4. Cut the beancurd sheet into rectangle shapes and fill a tbsp of minced pork into the sheet

5. Line them in a row then row the sheet

6. Line the end of each roll with some egg so it sticks together well


7. Steam all the ngoh hiang till meat is cooked, and colour of beancurd sheet turns lighter

8. Dap dry before frying them in hot oil

9. Turn the sides to ensure they are thoroughly cooked

10. Serve when hot.

This goes well with sweet sauce or Thai sweet chilli sauce.


Saturday, July 30, 2011

Our lunch on Sunday

The master of the house doesn't like messy and oily kitchen. He has spotted some ants around in the kitchen ever since we started cooking a month or two ago.. Ive always kept the kitchen really clean, at least to my standard and I'm quite a clean freak actually. But if you start cooking in the house, you can expect your friendly pests coming for a visit very soon.


Anyway here's our Sunday lunch with Broccoli and Mushrooms.


It is a relatively easy task to do and the result is quite satisfying for me

Stir Fry Broccoli with Mushrooms

Broccoli (one floret - to cut, wash and boiled in water for a short while)
1/2 tsp of minced garlic
Sliced Chinese dried mushroom (about 4-5)
(Chinese mushrooms must be washed and soaked for at least an hour to soften it. When soft, cut away stem and keep the water)
1-2 tbsp of oyster sauce mixed with 1 tsp of cornstarch and some water to dilute
Light soya sauce
Some cooking oil


1. Heat wok with a little oil
2. Fry garlic till semi brown
3. Fry mushroom for a while then add in boiled broccoli
4. Throw in the mushroom water then oyster sauce mix
5. Cover wok and let the dish simmer for a few min
6. Add salt and pepper and some soya sauce if required. (I add some sesame oil as well)
7. Serve.

About Broccoli


Broccoli is one of the healthiest vegetable. I used to hate broccoli alot because of its shape, texture and colour. It took me some 30 years to get over it and finally eat it because of its numerous health benefits. For a start, broccoli has numerous anti cancer, anti viral and anti bacterial properties, and is high Vitamin C and dietary fibre. It also contains beta carotene like carrots (seen from its rich colour) and reduces the risk of prostate cancer. However boiling it for too long reduces the benefits significantly. If possible, do not cook it for too long.


Enjoy!

Thursday, June 30, 2011

My other pictures - totally unrelated :)


Hi folks.. here are some of my other pre wedding and wedding shots :)

Totally not related to my blog, but just want to share before I start on my culinary posts.